
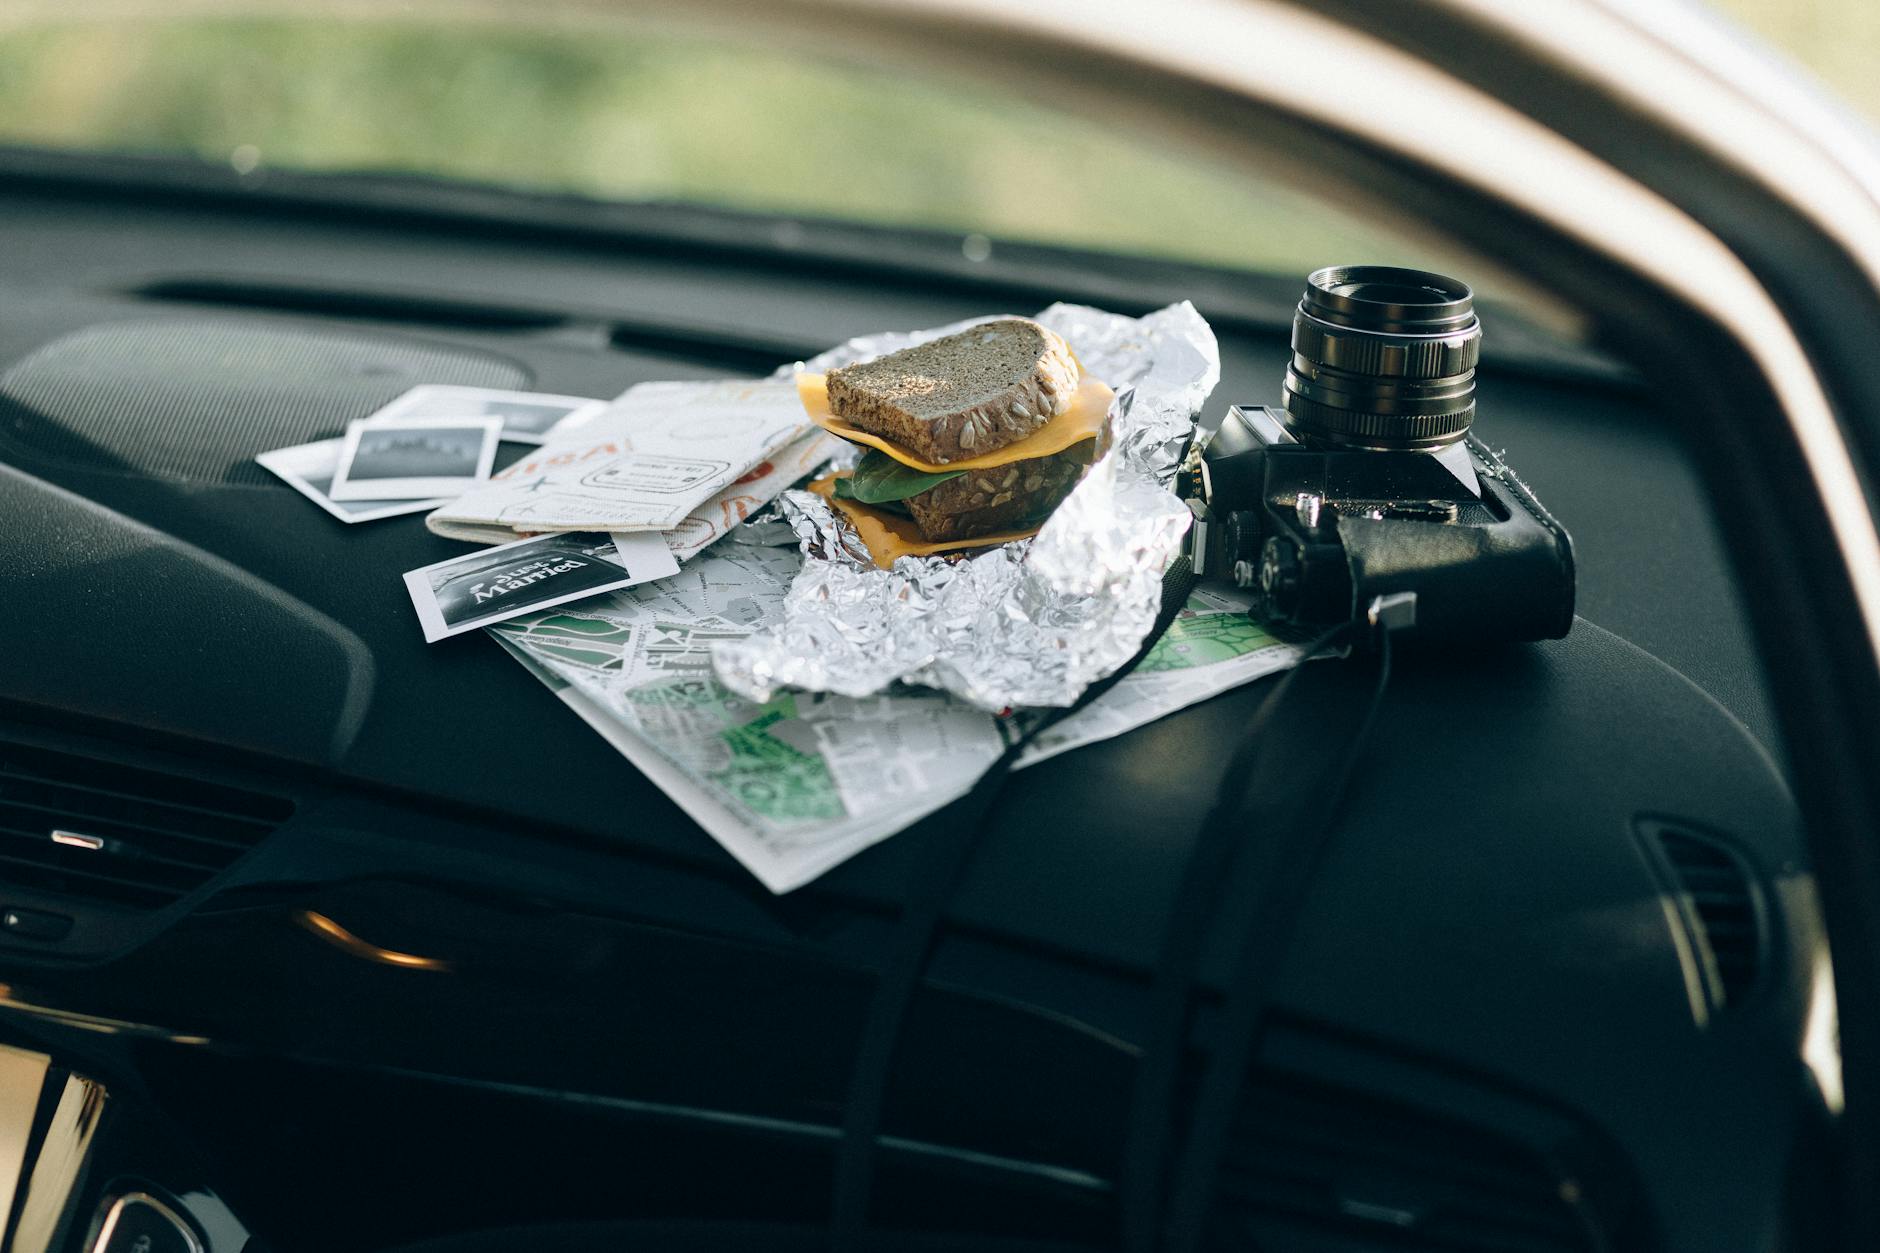
Remember those sad, blurry food photos that never did justice to your amazing travel meals? I was there too! Join me on my transformation from amateur foodie snapper to a pro food photographer whose delicious travel pics sent my followers into a frenzy. Get ready to elevate your culinary captures! ---
## From Blurry Bites to Viral Delights: How I Mastered Food Photography and My Followers Went Wild!
Let me paint you a picture. It’s 2018. I’m sitting at a tiny, bustling pizzeria in Naples, Italy, the birthplace of pizza. Before me, a masterpiece: a pizza margherita with its perfectly blistered crust, vibrant San Marzano tomatoes, fresh mozzarella, and a scattering of bright basil leaves. It was pure art. I pulled out my phone, snapped a quick pic, and... sigh. It looked like a beige blob on a plate. Dark, unappetizing, and utterly devoid of the magic I was experiencing.
That was my food photography journey for years. I’d travel to incredible destinations, savor mind-blowing culinary creations, and then fail spectacularly to capture their essence. My Instagram feed was a graveyard of poorly lit, awkwardly angled dishes that looked nothing like the delicious reality. My followers, bless their hearts, would politely scroll past.
But something shifted. I was tired of beautiful food moments being lost to bad photography. I wanted my travel stories to be complete, and for me, food is half the story! So, I made a commitment: I would learn to photograph food like a pro. And what happened next? My followers went crazy. My engagement soared, my photos started getting shared, and people were constantly asking, "How did you take that?!"
This isn't just about pretty pictures; it's about telling a story, evoking a feeling, and making people practically taste the dish through their screens. If you’re ready to transform your food photography from forgettable to phenomenal, then pull up a chair, because I’m about to spill all my secrets.
### The "Before" & The Awakening: My Cringeworthy Culinary Captures
My early food photography was, to put it mildly, an embarrassment. I’d be in a dimly lit restaurant, excitedly snap a photo with my phone’s flash (the horror!), resulting in harsh shadows and ghostly white highlights. Or I’d try to get a close-up, only to find the entire dish was a blurry mess. There was the time I tried to photograph a vibrant fruit platter in a Marrakech riad, and it came out looking like a dull, overexposed still life. My friends would joke that my photos made even the most delicious food look unappealing.
It wasn't just aesthetics; it was a genuine frustration. I'd spend hours researching local eateries, savoring every bite, and feeling a profound connection to the culture through its cuisine. But my photos failed to convey any of that passion or flavor. My travel blog posts felt incomplete, lacking the visual punch that truly brings a destination to life.
The turning point wasn't a single "aha!" moment, but a slow burn of frustration. It was one too many beautiful bowls of ramen in Tokyo looking like muddy water, one too many vibrant tacos in Mexico City appearing flat and uninviting. I realized that if I wanted to be a true travel blogger, someone who inspires and informs, I needed to up my game. Food wasn't just sustenance; it was an experience, and I needed to capture that experience authentically.
### Investing in Knowledge (and a Little Gear): My First Steps to Food Photo Stardom
The first thing I did was acknowledge I knew nothing. And that was liberating! I wasn't going to magically become a food photography wizard overnight. I needed to learn.
My journey started small. I devoured free YouTube tutorials, specifically looking for channels focused on "food photography for beginners" and "mobile food photography." I learned basic concepts like light direction, composition, and editing. Then, I invested a little. Not in an expensive camera right away, but in a couple of online courses. I remember one called "Food Photography Fundamentals" by a professional food stylist that cost about $99 – best money I ever spent! It demystified aperture, shutter speed, and ISO, and how they relate to food.
Gear Upgrade (But Don't Break the Bank!):
Initially, I stuck with my trusty iPhone, learning to maximize its potential. But after a few months, I felt limited. I wanted more control over depth of field (that beautiful blurred background!). So, I took the plunge and bought an entry-level mirrorless camera – a Sony a6000 (around $500-600 for the body and kit lens at the time). The real game-changer, though, was the 50mm f/1.8 prime lens (often called the "nifty fifty"). It’s relatively inexpensive (around $200-300) but produces incredibly sharp images with gorgeous background blur. This combo became my workhorse for almost two years.
My takeaway:
You don't need a professional studio setup. Start with what you have, learn the fundamentals, and then consider a modest upgrade if you feel the need. My investment of a few hundred dollars transformed my entire content strategy.
### Light, Angles, & Composition: The Holy Trinity of Deliciousness
This is where the magic truly happens. Forget fancy cameras for a moment; if you master these three elements, your food photos will instantly become 100 times better.
1. Light is Your Best Friend (and Worst Enemy):
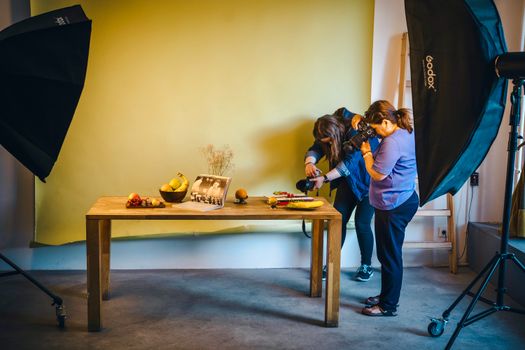
Natural Light is King: Always, always, always* try to use natural light. Seek out a window seat in a restaurant, dine outdoors, or position your dish near a large window at home.
* Side or Backlighting: The most flattering light for food comes from the side or slightly behind the dish. This creates beautiful shadows and highlights that give your food dimension and texture. Avoid harsh direct sunlight, which can blow out details and create unflattering shadows.
* Diffusers & Reflectors: Don't have professional gear? No problem! A sheer white curtain can act as a diffuser for harsh window light. A white napkin or even a piece of white paper can bounce light back into the shadows, brightening your dish. I've used everything from a menu to my phone screen as a makeshift reflector in a pinch!
Personal Anecdote:* I was in a charming cafe in Paris, trying to photograph a pain au chocolat. The only available table was away from the window, making the pastry look flat. I politely asked to move to a table near the window, and the difference was night and day! The warm morning light hit the croissant from the side, highlighting its flaky layers and golden crust. It was pure bliss.
2. Angles: Choose Your Perspective Wisely:
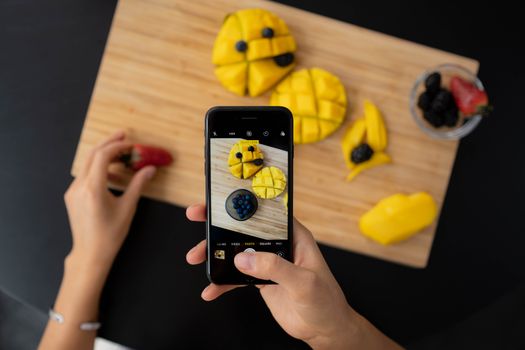
* The Overhead Shot (Flat Lay): My go-to for dishes with beautiful toppings (pizza, smoothie bowls, elaborate pastries) or when I want to tell a story with multiple elements (coffee, book, notebook). It’s clean, graphic, and very Instagram-friendly.
* The 45-Degree Angle: This is a versatile angle, similar to how you’d naturally view your food. It’s great for showing the depth of a bowl of soup, a plate of pasta, or a burger. It provides context without being too flat.
* The Straight-On Shot: Perfect for stacked items (burgers, cakes, cocktails) or to highlight the height and layers of a dish. It creates a more dramatic, eye-level perspective.
Tip:* Experiment! Take photos from all three angles. You'll quickly learn which angle best showcases each dish.
3. Composition: Arranging Your Edible Art:
* Rule of Thirds: Imagine a tic-tac-toe grid over your photo. Place your main subject at the intersections or along the lines for a more dynamic and pleasing image.
* Negative Space: Don't be afraid of empty space! It helps the eye focus on your main subject and gives the photo a clean, uncluttered feel.
* Leading Lines: Use cutlery, a breadstick, or even the edge of a table to draw the viewer's eye towards your dish.
* Layering & Depth: Add elements in the foreground and background (e.g., a blurred glass of water, a hand reaching for a fork, other dishes) to create depth and a sense of a real dining experience.
Personal Anecdote:* I was photographing a vibrant ceviche in a small restaurant in Lima. Instead of just the bowl, I placed a lime wedge and a few cilantro leaves slightly out of focus in the foreground, and a blurred glass of chicha morada in the background. It instantly added depth and made the photo feel more immersive, like you were right there at the table with me.
### Styling Secrets: Making Your Food Pop (Without Being a Professional Chef!)
You don't need a food stylist degree to make your dishes look incredible. A few simple tricks can elevate even the most humble meal.
1. Plating Perfection (or close enough!):
* Cleanliness is Key: Wipe away any drips, crumbs, or smudges from the plate before you shoot. A clean plate makes a huge difference.
* Less is More: Don't overcrowd the plate. Let the hero of the dish shine. If you have garnishes, place them strategically and sparingly.
* Texture & Color: Think about how to highlight different textures (crispy, creamy, flaky) and vibrant colors. A sprinkle of fresh herbs, a drizzle of olive oil, or a pinch of chili flakes can add visual interest.
2. Props with Purpose:
* Keep it Relevant & Simple: Choose props that enhance the story of the food, not distract from it. Think about the cuisine, the location, and the mood.
* Natural Elements: Linen napkins, rustic wooden boards, vintage cutlery, small flowers, a sprig of herbs, or local ingredients (e.g., a lemon next to pasta, chilies next to tacos).
* Human Element: A hand reaching for a fork, pouring a drink, or holding a taco adds a relatable, inviting touch. It makes the food seem more accessible and delicious.
Personal Anecdote:* I was in Rome, trying to capture a simple bowl of Cacio e Pepe. It's notoriously hard to photograph because it's so monochromatic. I found a beautifully crumpled linen napkin, a single olive branch from a nearby tree, and placed a vintage silver fork beside the bowl. The textures and subtle elements brought the whole scene to life, making the pasta look incredibly inviting. It was one of my first photos that truly "popped" without being overly styled.
3. Action & Movement (Carefully Executed!):
* Drizzles & Sprinkles: A slow pour of syrup over pancakes, a sprinkle of parmesan over pasta, or a dusting of powdered sugar can add dynamism.
* Steam: Capture the delicious warmth of a dish by photographing it right after it's served, especially soups or hot drinks. This requires quick action!
* The "Bite" Shot: A fork lifting a perfect bite, or a hand holding a sandwich, can be incredibly appealing and make viewers crave the food.
### Post-Processing Power: The Magic Touch (But Don't Overdo It!)
Even the best photos can benefit from a little polish. Post-processing isn’t about transforming a bad photo into a good one; it’s about enhancing a good photo to make it great.
1. My Go-To Apps & Software:
* Lightroom Mobile (Free & Paid): This is my absolute favorite. The free version offers powerful editing tools, and the paid subscription unlocks advanced features and cloud syncing.
* Snapseed (Free): Google's fantastic mobile editor. Great for selective adjustments and quick fixes.
* VSCO (Free & Paid): Known for its beautiful filters (presets) that can give your photos a consistent look.
2. Key Adjustments to Master:
* Exposure: Brighten or darken your image. Don't be afraid to slightly overexpose for a bright, airy look.
* Contrast: Adds depth and "pop" to your photo. Be careful not to overdo it, or your image will look harsh.
* Highlights & Shadows: Recover detail in overexposed bright areas (highlights) and underexposed dark areas (shadows).
* White Balance: This is crucial! Adjust it to make the colors in your food look natural and appetizing. Food should look warm and inviting, not too blue or too yellow.
* Saturation & Vibrance: Enhance colors, but use sparingly! You want natural, vibrant colors, not cartoonish ones.
* Sharpening: A little sharpening can make your food look crisp and delicious.
* Cropping & Straightening: Ensure your horizons are straight and crop to improve composition.
Personal Anecdote: I once took a photo of a delicious bowl of pho in Vietnam. The lighting was a bit off, and the broth looked a little yellow-ish and unappetizing. A quick adjustment to the white balance in Lightroom Mobile, shifting it slightly towards blue, instantly brought out the vibrant green of the herbs and the rich warmth of the broth. It transformed the photo from "meh" to "mouth-watering" in seconds. It's amazing what a few tweaks can do!
3. Consistency is Key: Develop a consistent editing style. This will make your Instagram feed look cohesive and professional, building your brand identity. Save your favorite edits as presets in Lightroom to apply them quickly to new photos.
### Practice Makes Perfect: My Journey Continues & Your Next Steps
Learning food photography is an ongoing journey. I'm still learning new techniques, experimenting with different styles, and pushing my creative boundaries. The key is consistent practice and a willingness to experiment.
I practiced everywhere! From the bustling street food markets of Bangkok (mastering the art of quick, in-the-moment shots) to the colorful food stalls of Mexico City (playing with vibrant colors and textures), and even fine-dining restaurants in NYC (learning how to discreetly capture beautifully plated dishes). Each location, each cuisine, presented new challenges and opportunities to grow.
And the results? My followers, who once scrolled past my sad food photos, started engaging like never before. They'd comment, asking for recipes, restaurant recommendations, and photography tips. My photos were getting shared, saved, and even reposted by restaurants! The satisfaction of seeing my content resonate so deeply was immense. It proved that the effort was worth every single blurry, poorly lit photo I took in the beginning.
Your Next Steps:
1. Start Today: Don't wait for the perfect camera or the perfect dish. Grab your phone and start practicing with your next meal.
2. Focus on One Thing: Pick one tip from this post – maybe "natural light" or "the overhead shot" – and focus on mastering it before moving to the next.
3. Experiment Fearlessly: Try different angles, move your props around, play with your editing apps. You'll discover what works best for you.
4. Engage & Share: Post your photos! Ask for feedback from your friends or followers. Use relevant hashtags.
5. Bookmark This Post: Come back to these tips whenever you need a refresher or inspiration!
### The Flavorful Finish: Your Journey to Food Photo Stardom Begins Now!
From that embarrassing Neapolitan pizza photo to vibrant, share-worthy culinary captures that make my followers drool, my food photography journey has been a delicious adventure. It’s not just about taking pictures; it’s about enhancing my travel stories, connecting with my audience, and truly celebrating the incredible food experiences the world has to offer.
You don't need expensive gear or years of experience to start. All you need is a keen eye, a willingness to learn, and a passion for food. So, next time you're faced with a culinary masterpiece, don't just eat it – capture it! Make it sing. Make it pop. And watch as your followers go absolutely crazy for your delicious travel snaps.
What's the first dish you're going to photograph like a pro? Share your culinary creations with me using #TripsoraFoodPro – I can't wait to see your mouth-watering masterpieces!
---
Visual journey



Tags
Share this adventure
Join the travel community
New adventures, cultural insights and travel inspiration, straight to your inbox.
We may receive a commission if you click on a link and buy a product, service or policy, at no extra cost to you. How affiliate links work.
Other angles on this trip
These notes are written by AI to show how different kinds of traveller might see this destination. They are not comments from real readers.